This guide walks you through installing Tailwind CSS Builder on your WordPress site. By the end, you'll have the theme installed and ready for license activation. The process takes about 5 minutes and requires no technical knowledge.
Requirements
Before installing, make sure your WordPress site meets these minimum requirements:
- WordPress 5.9 or higher - The builder uses modern WordPress features introduced in version 5.9
- PHP 7.4 or higher - Required for the builder's backend functionality
- Write access to wp-content/themes directory - WordPress needs permission to install the theme files
Not sure what versions you have? Go to Tools > Site Health in your WordPress admin and look at the "Server" section under the "Info" tab.
Download the Theme
First, you need to download the theme files from your account:
- Log in to your account at tailwindcssbuilder.com
- Navigate to the Downloads section in your account dashboard
- Download the latest .zip file - Look for the most recent version available
Keep the .zip file intact. Do not unzip it on your computer. WordPress handles the extraction automatically during installation.
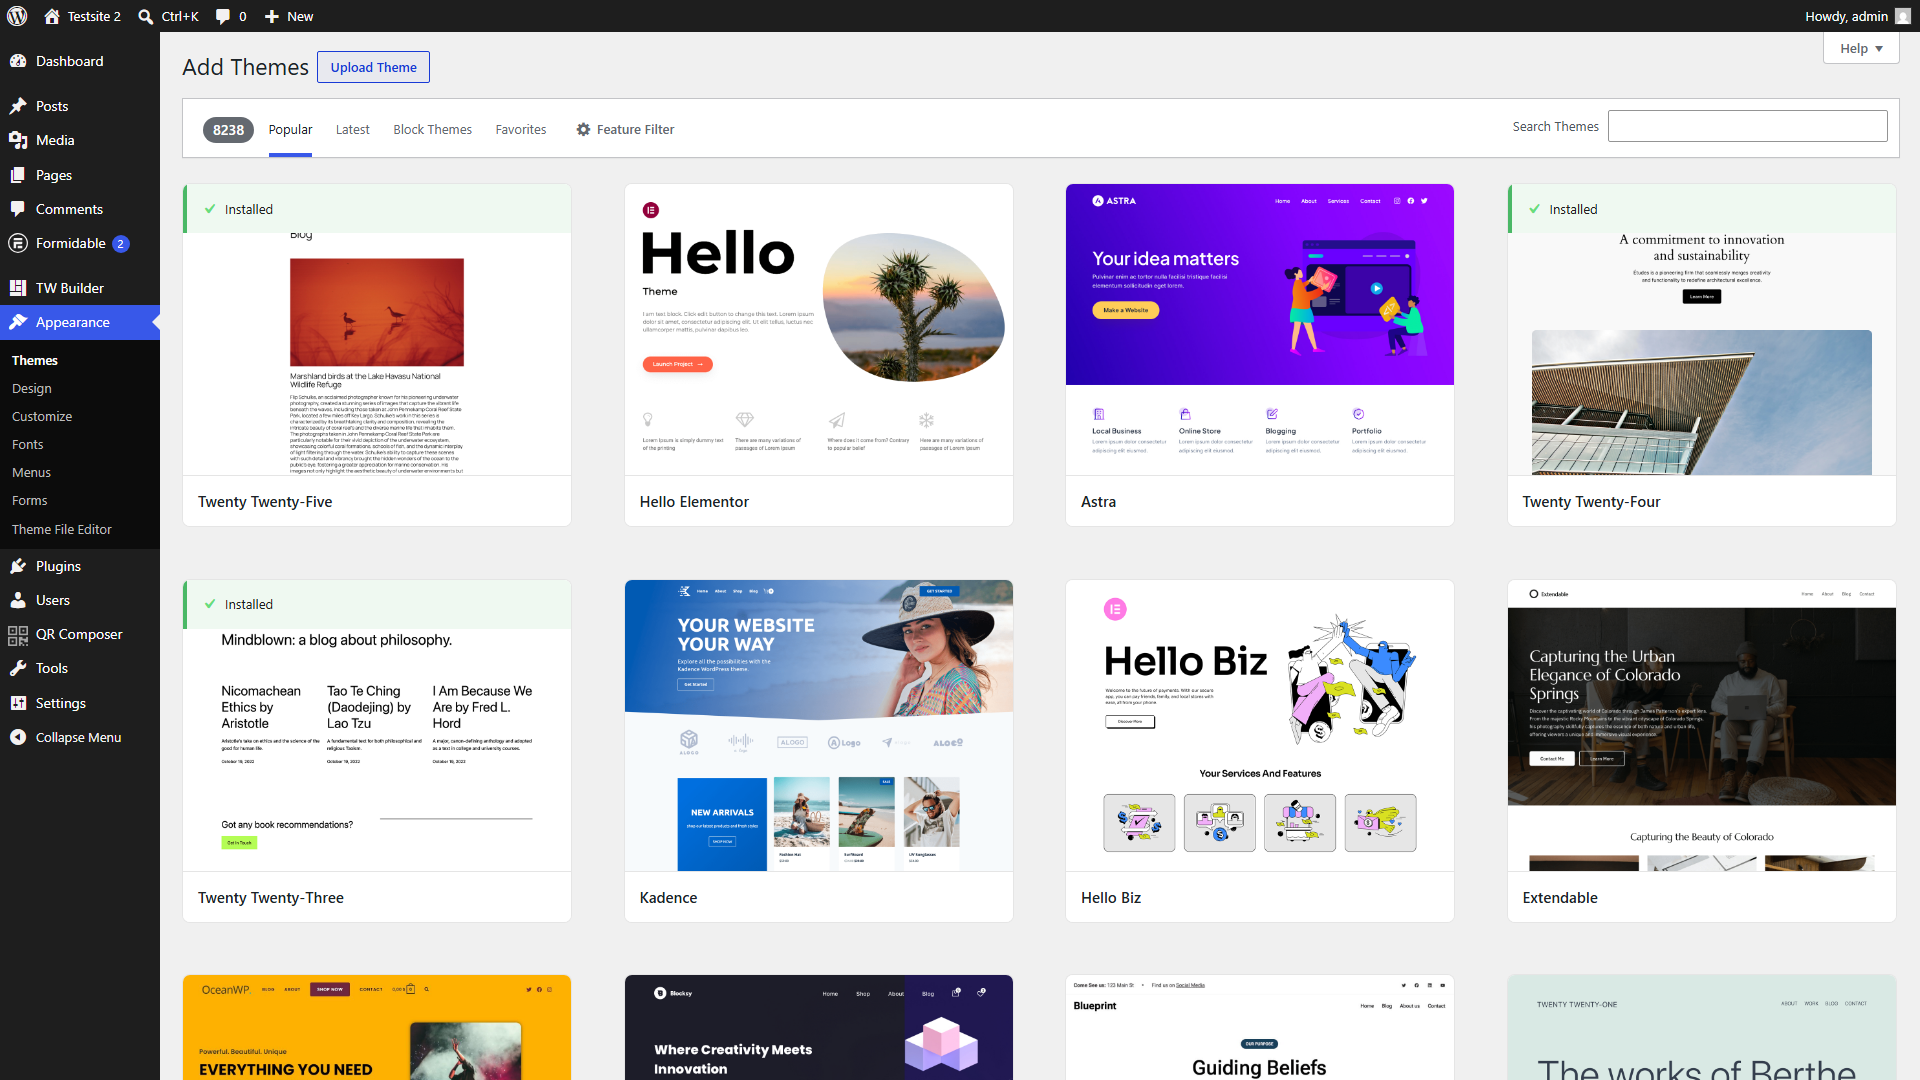
Upload to WordPress
Now you'll upload the theme to your WordPress site using the built-in theme installer:
-
Log in to your WordPress admin dashboard - Usually at
yoursite.com/wp-admin - Navigate to Appearance > Themes - Find this in the left sidebar menu
- Click the "Add New" button at the top of the Themes page
- Click "Upload Theme" button - You'll see this at the top of the page, next to the search bar
- Click "Choose File" and select the downloaded .zip file from your computer
- Click "Install Now" and wait for the upload to complete - This may take a few seconds depending on your connection speed
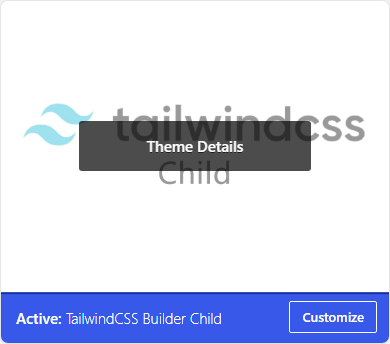
Activate the Theme
After the upload completes, you need to activate the theme:
- Click "Activate" on the success screen after installation completes
- Wait for activation - WordPress will process the theme and set it as your active theme
You'll see a success message confirming the theme is now active. Tailwind CSS Builder is now installed on your site!
Verify Installation
Let's make sure everything is working correctly:
- Look for "TW Builder" in the admin menu - After activation, you should see a new menu item in the left sidebar
- Click on TW Builder > Settings - This opens the main settings page
- Confirm the Settings page loads - You should see the theme settings interface
If you see an error or the menu doesn't appear, verify that your server meets the PHP 7.4+ requirement. Contact your hosting provider if you need help upgrading PHP.
Next Steps
Congratulations! Tailwind CSS Builder is now installed on your WordPress site. The next step is to activate your license to unlock all the premium features, including the AI assistant, Figma import, and all premium elements.
Continue to License Activation to enter your license key and unlock the full builder experience.